
Like most, my kids love pretend play. They put on capes and play superheroes, they make weapons out of Lego's and shoot stuff, they put on fancy dress-up clothes and play princesses and fairies, you get the idea. Lately one of their favorite games has been to play kitties. They crawl around the house on their hands and knees
I saw a set of animal masks featured in Martha Stewart Magazine recently. It was a set of them from an Etsy shop, selling for more money than I'm willing to spend on felt and thread. I thought to myself, "I can do that!"
I free handed a few mask shapes until I got one I was happy with, then traced it onto freezer paper. If you've never used freezer paper, you should. It has a ton of uses, my favorite being a reusable, iron-on sewing pattern. No pinning required!


Next I made the mask back. I applied Heat and Bond to a piece of black felt, then used my freezer paper stencils on the opposite side.

I suppose the heat and bond isn't necessary, but it gave the mask a little bit of a thicker more durable feel, then just felt-on-felt. Here's a picture of the front and back mask pieces:

Now it's time for sewing. Using a short-length straight stitch, I stitched around the ears, nose, and white spot on the front of the mask.


Along came a visitor eating a Pop Tart. She wanted to check my progress...

And then there were two:

Back to work... next I prepared the back to be attached to the front. I used a 13" piece of 1/4 inch black elastic. Use more or less depending on the size of your kid's head. Fasten with a pin about 1 inch in from the sides on the Heat and Bonded side of the mask back and stitch it in place real good.


Now you're ready to attach your front and back. Front mask side down, iron the Heat and Bonded side of the back mask in place.

Once I did this I realized that these cute little kitty masks were missing something:

Whiskers!

Almost done...
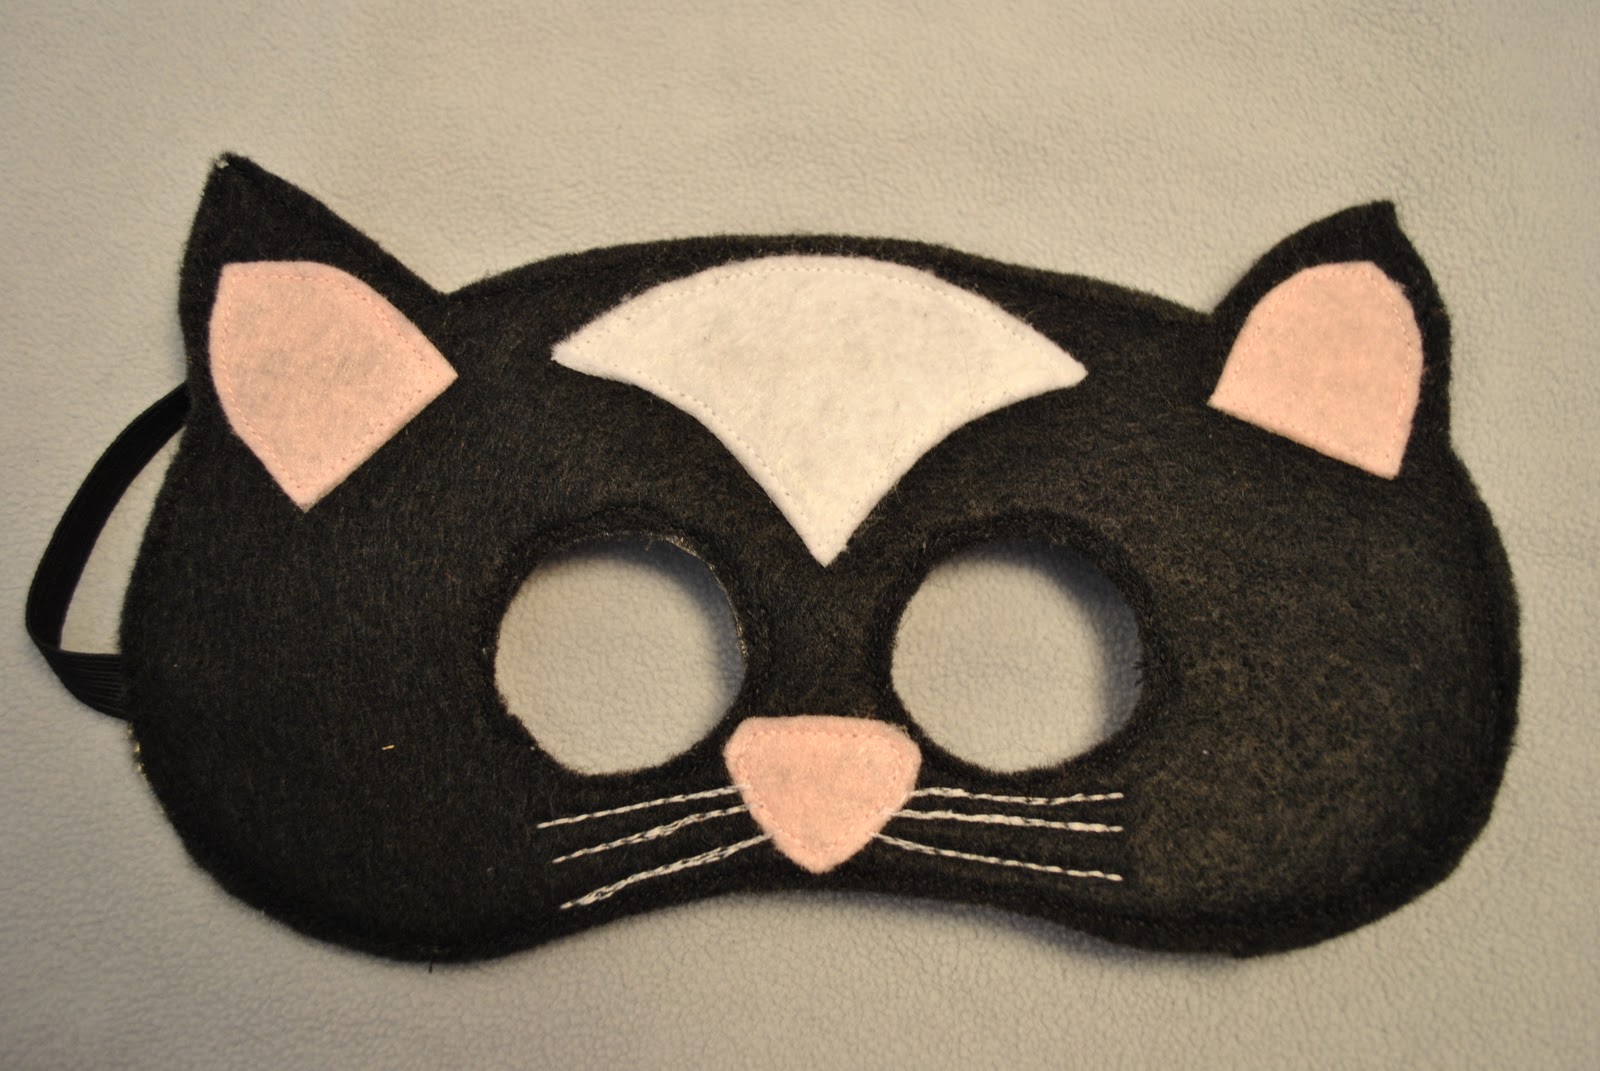
Stitch all the way around the outside of your mask, and around each eye hole with black thread. Try and stay close to the edge, and avoid going over the pink or white pieces you've applied.
Ta Da!!!
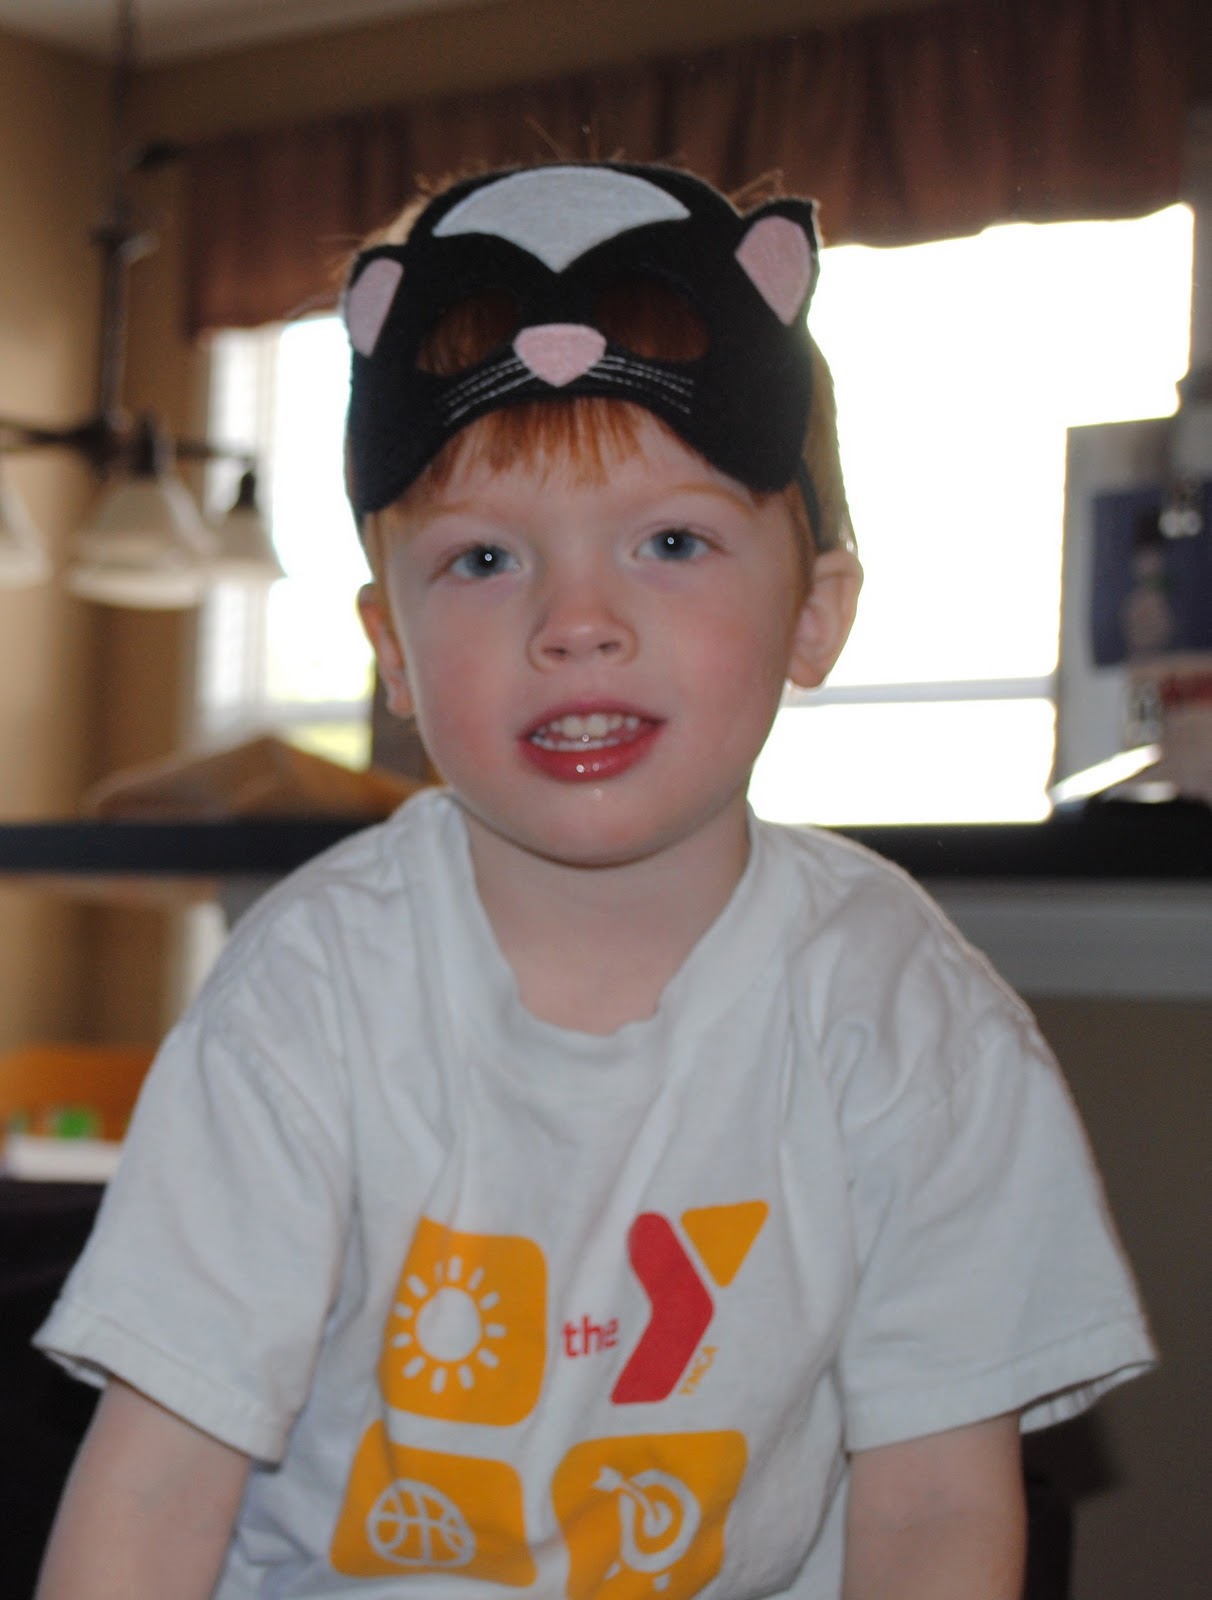
Meeeeeeeee-Owwwww!


2 comments:
these are awesome!!! my kids just started to play "kitties" too. i like the idea of giving them their dinner on the floor... ;)
What a cute idea! I like to sew as well, I made princess costumes for my nieces and pageants.
Post a Comment