Showing posts with label crafts. Show all posts

Sunday, January 29, 2012

Meeeeee-Owwww! Animal Mask Tutorial (cat)

Well, this is a first at Thou Shall Not Whine.  I've posted pictures of my craft projects in the past, but never actually posted a tutorial.  But this project was too cute and fun not to share, so here goes.

Like most, my kids love pretend play.  They put on capes and play superheroes, they make weapons out of Lego's and shoot stuff, they put on fancy dress-up clothes and play princesses and fairies, you get the idea.  Lately one of their favorite games has been to play kitties.  They crawl around the house on their hands and knees purring yelling "meee-owww!"  They climb on my lap so I'll scratch their heads, or feed them pretend kitty treats.  Sometimes I even give them food in a dish on the floor.  It's actually quite cute.  Until it's annoying.

I saw a set of animal masks featured in Martha Stewart Magazine recently.  It was a set of them from an Etsy shop, selling for more money than I'm willing to spend on felt and thread.  I thought to myself, "I can do that!"

I free handed a few mask shapes until I got one I was happy with, then traced it onto freezer paper.  If you've never used freezer paper, you should.  It has a ton of uses, my favorite being a reusable, iron-on sewing pattern.  No pinning required!


I applied the freezer paper to some black felt with a hot iron, and cut out my mask fronts, using an xacto knife for around the eyes.


I also made the ears, nose, and white patch stencils out of freezer paper, and cut those out of pink and white felt with some Heat and Bond already applied to the back.  I positioned the facial features, and ironed them in place.


Next I made the mask back.  I applied Heat and Bond to a piece of black felt, then used my freezer paper stencils on the opposite side. 


I suppose the heat and bond isn't necessary, but it gave the mask a little bit of a thicker more durable feel, then just felt-on-felt.  Here's a picture of the front and back mask pieces:


Now it's time for sewing.  Using a short-length straight stitch, I stitched around the ears, nose, and white spot on the front of the mask.


While you've got white thread in your machine, you should also make the whiskers by stitching 3 straight lines on each side of the nose.  I forgot to do that at this particular stage, but you shouldn't forget so I'll post the picture here to remind you...


Along came a visitor eating a Pop Tart.  She wanted to check my progress...


And then there were two:


Back to work... next I prepared the back to be attached to the front.  I used a 13" piece of 1/4 inch black elastic.  Use more or less depending on the size of your kid's head.  Fasten with a pin about 1 inch in from the sides on the Heat and Bonded side of the mask back and stitch it in place real good.


Now you're ready to attach your front and back.  Front mask side down, iron the Heat and Bonded side of the back mask in place.


Once I did this I realized that these cute little kitty masks were missing something:


Whiskers!


*remember, stitch the whiskers on when you stitch all the other face pieces to the front.  That way none of your stitches will show on the back part of the finished mask!*

Almost done...

Stitch all the way around the outside of your mask, and around each eye hole with black thread.  Try and stay close to the edge, and avoid going over the pink or white pieces you've applied.

Ta Da!!!
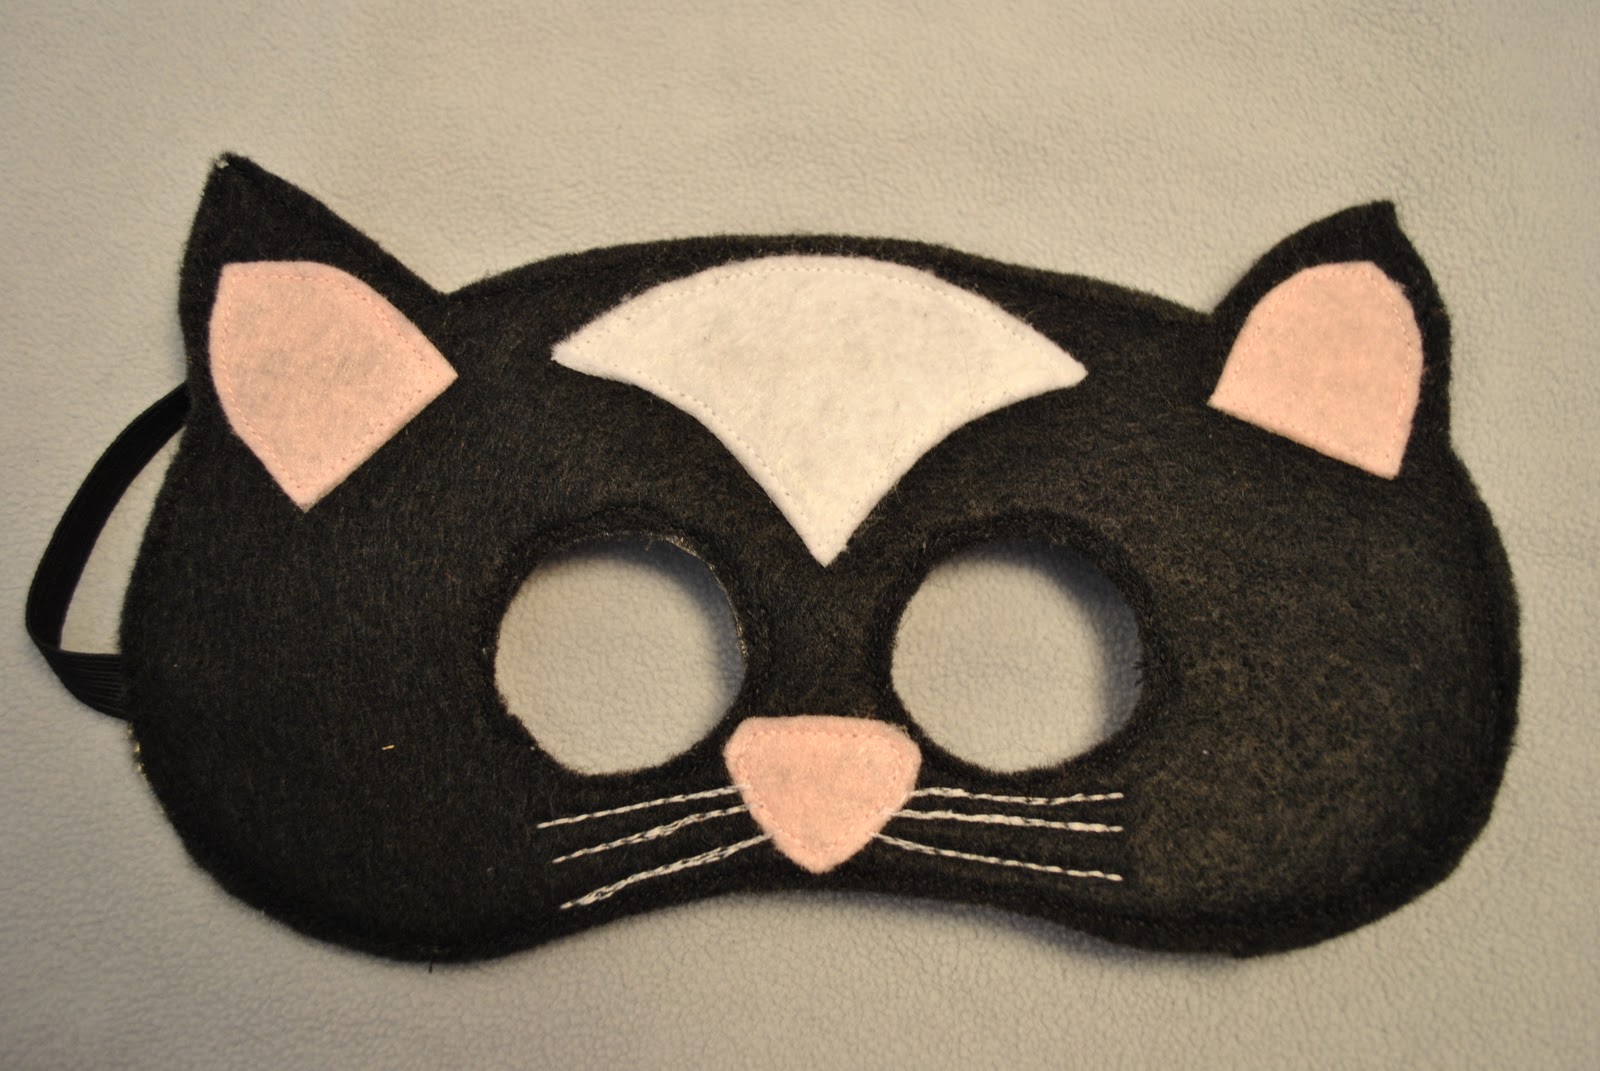


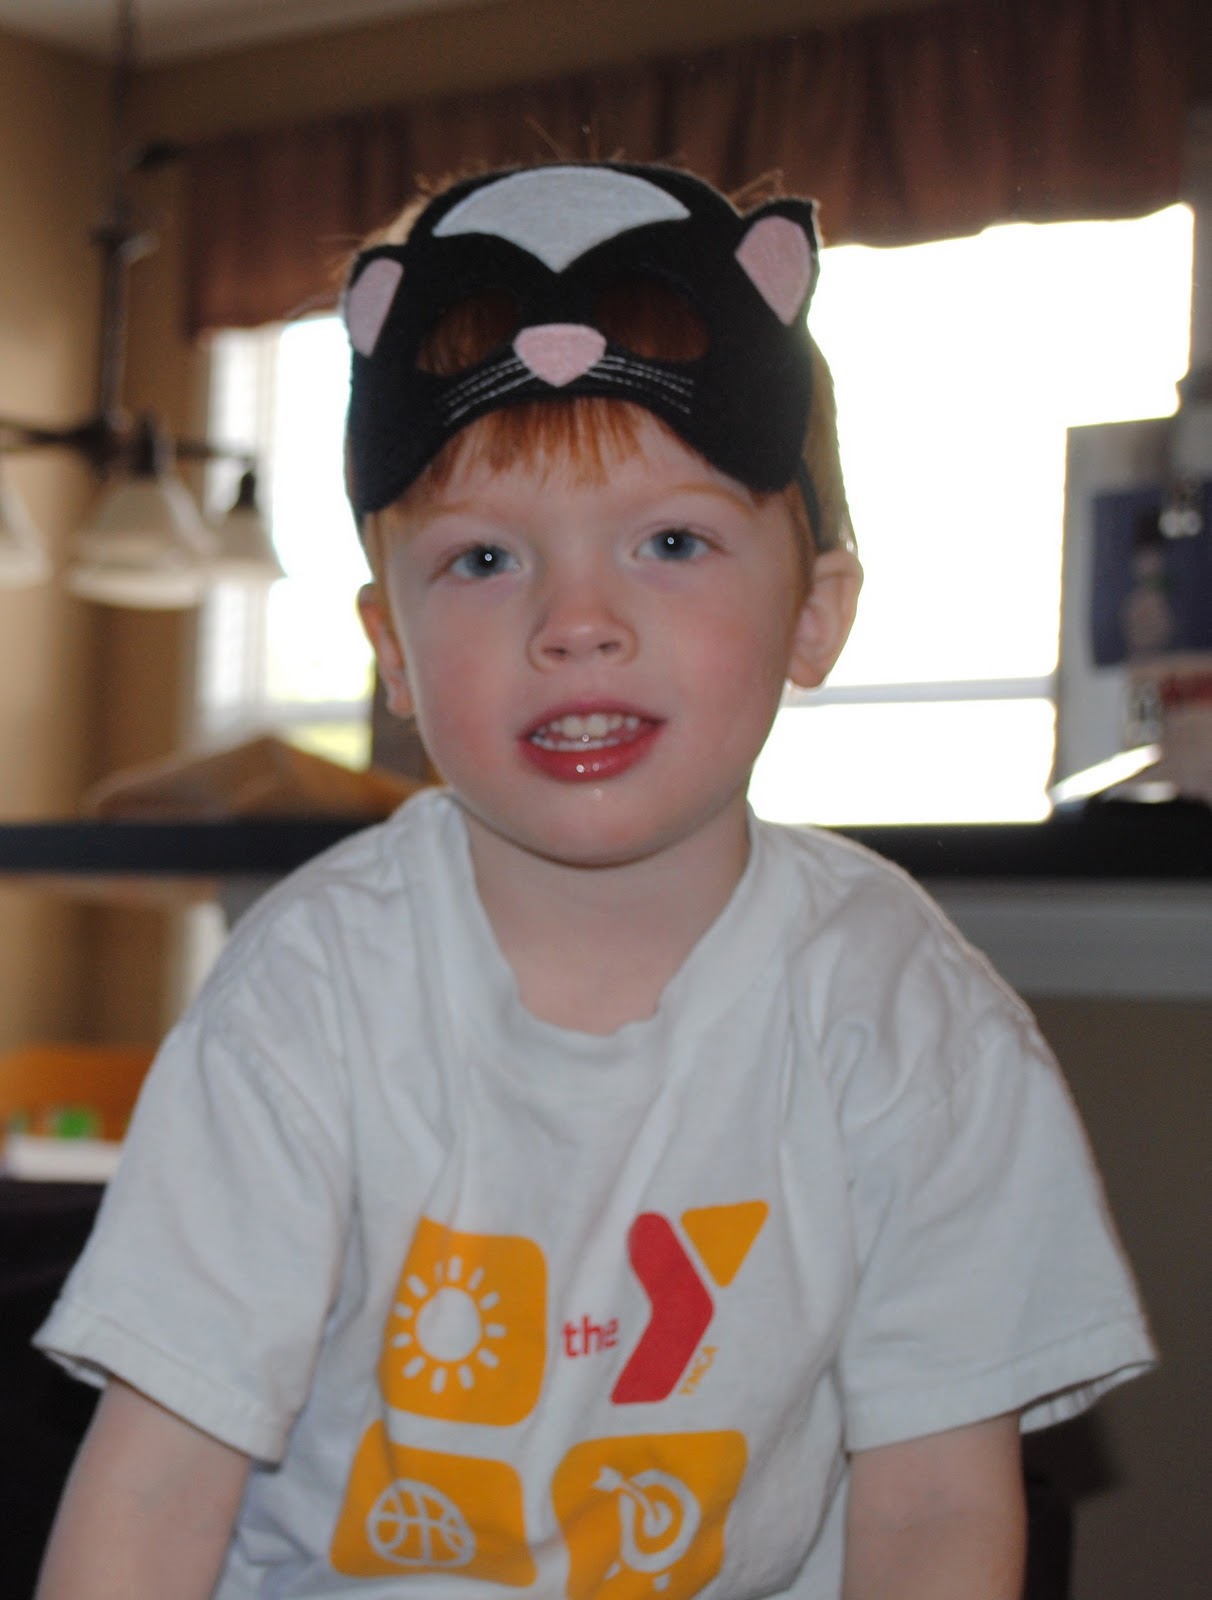
Meeeeeeeee-Owwwww!

Thursday, October 6, 2011

Boo!

I love making stuff.  Crafts, clothes for my kids, recipes, pretty much anything.  Even framing a picture and hanging it on the wall gives me that same sense of accomplishment.  The problem with loving to make things is that I feel like I hardly ever have the time to do so.  And let me tell you, not having the time to channel my inner creative goddess can be super frustrating... Between taking care of my kids, working part time, keeping my house kind of clean, getting dinner on the table, tutoring a neighborhood kid twice a week, and everything else I try to juggle, I'm usually exhausted at the end of the day and just have zero energy to do anything other than play on the computer or watch TV. (or both, usually simultaneously.)  Although I always have a project I'd like to create, I rarely have it in me at the end of the day to go digging through closets for supplies and start much of anything.

Today was a special day for more than one reason.  First of all, my husband's parents arrived for a 4 day visit with us and the kids.  These visits are always jam-packed with tons of hugs, kisses, songs, stories, playtime, and fun.  While our time together always passes to quickly, somehow the memories we create keep us connected until next time.  So while our beloved Nana and Pop-Pop quickly became the main attraction for the day, I cashed in on the opportunity to actually accomplish something in the daylight hours!

I saw this adorable idea at a friend's house when I went to my sewing group last week.  On my way out the door and back to my car I peeked under the sheet to find out how she made it.  And after a few DIY tutorials that I came up with after googling "tomato cage ghosts," I was ready to give it a try.  I did not take pictures of my process, because although I blog about crafts that I make this is not a crafting blog, and I simply can't be bothered to drop what I'm doing to try to get some great quality images taken at a strategic angle in awesome lighting with a canvas backdrop.  If you want a tutorial, I recommend this one from Lowes Home Improvement Store.  And then just Google it.  You'll figure it out in no time, I promise.

I did go outside after dark though so I could share how cute my new Halloween decorations are:


The best part is that these can be used year after year, and the total cost was probably about 13 bucks.  (would have been cheaper if I had thought about going to the thrift store for the sheets up until now!)

Pinterest

Related Posts with Thumbnails